How To Apply Gel Stain
 By Sean Walker on Dec 29, 2015 - 447 views
Gel stains are a thick bodied pigment based stain that don't penetrate as deeply as traditional dyes, water base and oil liquid base stains. Since the majority of the stain stays on the surface, it gives you a more even look, helping to prevent blotching in woods like pine, maple, cherry, spruce, fir, aspen, poplar and alder. Blotching is primarily caused by uneven absorption of stain in woods that have uneven densities. Just take a quick Google and look for blotchy stain examples, it's not pretty.
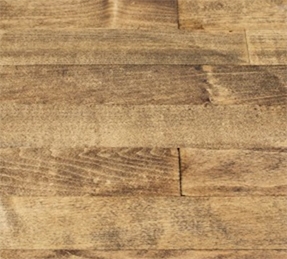
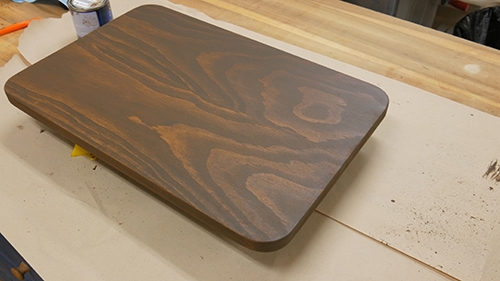
You can see in the example above how pine absorbs the stain differently in certain areas. It's a very uneven look. Now in the example below is one coat of antique walnut gel stain from General Finishes.
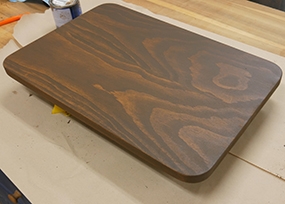
It's a much more consistent look throughout the whole piece. Gel stains are much thicker than traditional liquid oil/water stains so they typically only require 1 coat to achieve the desired look. As always, have a sample board on hand that you can use to test your finish on and see what it will look like. Never practice on the piece you've spent countless hours working on.
This article won't try to explain the science behind the finishes and why exactly the woods blotch as there are plenty of articles out already that do an excellent job explaining the why and how. What I will cover, however, is my methods on surface preparation and how to apply the stain to achieve excellent results.
Surface Preparation
 Depending on the condition of your surface, I typically start sanding with 80 grit sanding discs using my random-orbit sander. After the surface looks consistent and I no longer see any blemishes, I replace the sanding disc with 120 grit. After the initial sanding with 80 grit, the subsequent grits take less time to get the surface ready for the next grit. If I spend 2-3 minutes sanding with 80 grit I may only spend 1-2 minutes sanding with 120 grit.
After sanding with 120 grit, feel the surface with your fingers to make sure you didn't miss a spot. It's hard to tell by just looking at it, but you sure can feel a difference between 80 grit and 120 grit.
And finally, I stop sanding around 150 grit to 180 grit sandpaper since i'm staining. The higher grit you sand with, the less the stain will penetrate, thus giving you a lighter stain on your piece.
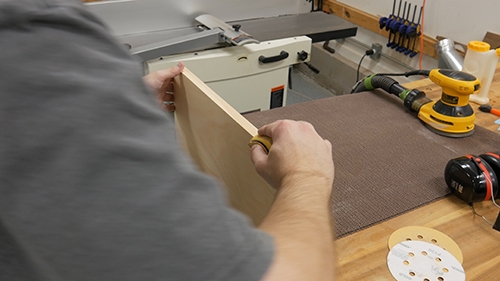
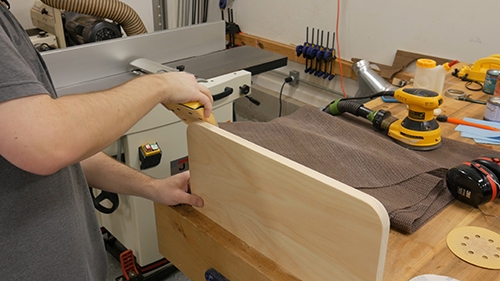
After I sand the board faces, I focus on sanding the edges and end grain. I hand sand with my sanding block using the same grits I used on the faces. Also, this is the perfect opportunity to break the edges of the piece using 120 grit sandpaper in your sanding block. Tilt the sanding block to 45 degrees and lightly sand the edges like in the picture below:
Once i'm done with the sanding, I remove the dust from the piece using a paper towel. If you miss some, don't worry as you will be doing more wiping when its time to stain.

Applying The Stain
Gel stains are not picky when it comes to choosing the applicator. You can use an old brush, paper towel, piece of an old t-shirt or just about any other clean applicator. The goal here is to wipe it on and immediately wipe it back off. In the video, I just used a cheap chip brush I picked up from Harbor Freight.
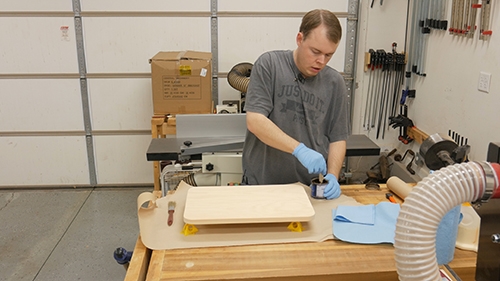
Always stir your finish. Pigments can settle to the bottom of the can, and you want to mix your finish before applying to continue to get consistent results. I bought a 500 pack of tongue depressors from amazon for this very purpose, which should last me for years.

Charge your brush with plenty of gel stain and begin to wipe it on. Time is not on your side with any stain, so work quick. Your goal is to flood the whole surface with the stain.

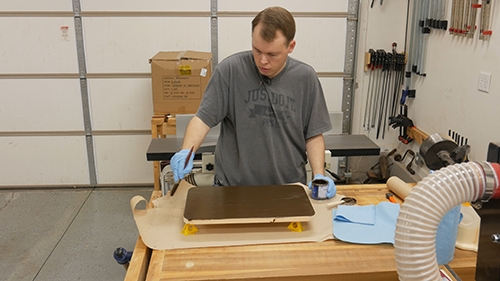 With the entire surface covered, I fold up a paper towel and begin to wipe off the excess.

Flip the paper towel over often to expose a fresh surface. It's important to look at your piece at different angles to make sure you have wiped up all of the excess.

I repeat these same steps for the edges of the board, and the back side.

Your final product should have a consistent color:

Applying A Top Coat
The gel stains from General Finishes are not picky when it comes to being compatible with with an oil based varnish, water based polyurethane, shellac or pretty much any top coat. If applying a water base finish, you will need to wait 72 hours for the gel stain to completely dry since the stain is an oil base and the polyurethane is a water base. In the video, I waited 24 hours and sprayed an oil based semi-gloss polyurethane. I applied a total of 3 coats, leaving me with a very nice surface.

If you have any questions on what was covered in this article, please leave a comment below and I will answer it.
This article contains affiliate links that help support this website.


0 comments
You need to be signed in to leave a comment. Don't have an account? Join now